How I made My U Part Wig
Sorry that the U Part wig post is so late, but I hope you all had a wonderful Easter/Spring Break where ever you are.
I know in the US, you guys are now on Summer break.
I know in the US, you guys are now on Summer break.
I had family over for the Easter holiday, which was great 😊
I had a lot to do, I did my two nieces hair and I started a new wig for my mum but couldn't finish it because I ran out of hair 😞. And I completely forgot to take picture of my step by step process to making the wig.
But I will do my best to explain it as easy as possible.
So the first U Part Wig I made was half made as it was a weave wig that I had brought a few years ago. The weave wig came in two parts I.e. the bottom piece; which covers the back and sides and the top piece; which covered the crown.
So the first thing I did was unpick the tracks from the crown piece which I then used to make the wig as it was the same hair.
Step 1: measure you wig cap/ wig net and section out where you want your U Part to be

Adjustable Weave/wig cap
Step 2: Now that you have you cap/net marked out with U Part positioning you can start to sew you tracks on. OK so I sew my tracks on using a sewing machine (as I make clothes and bags https:/www.kimasboutique.bigcartel.com). But if you are going to sew the tracks on by had it would really help if you had a Styrofoam wig head (you can find them at a lot of beauty supple stores or eBay and amazon).
Step 3: starting from the back, placing the track at the bottom of the wig cap or net. Make a safety knot on the track before sewing it to the cap/net sewing and working your way up depending on the style of your U Part Wig. ( for my wig I worked my way around from one end to the other as my wig was a centre part wig.) Depending on the amount of hair you have you should determined the spaces between each track. You can leave a two finger space between the bottom tracks and a 1 finger space between the top tracks as you don't want and gaps.
Step 4: When you're close to the U Part marking, you should try on your wig cap to see how your U Part wig fits and if you feel you need to add any more tracks. Once you have decided the volume for your wig place your last track right on top of the U Part marking and sew it down.
Step 5: Last and final step, is to put your wig on. Now you can either sew your wig on to your head by braiding your hair down and sewing around the perimeter. Or you can sew wig clips on to your wig and clip them onto your braids/cornrows.
Once your wig is in place you can go ahead and cut out the U Part to revile you leave out.
Each time you make a wig you become better at it, so don't worry if your first wig does not turn out the way that you want. Just keep trying and switch it up and add different colour hair and different partings.
 |
| Back view of my U Part Wig |
 |
| Side view |
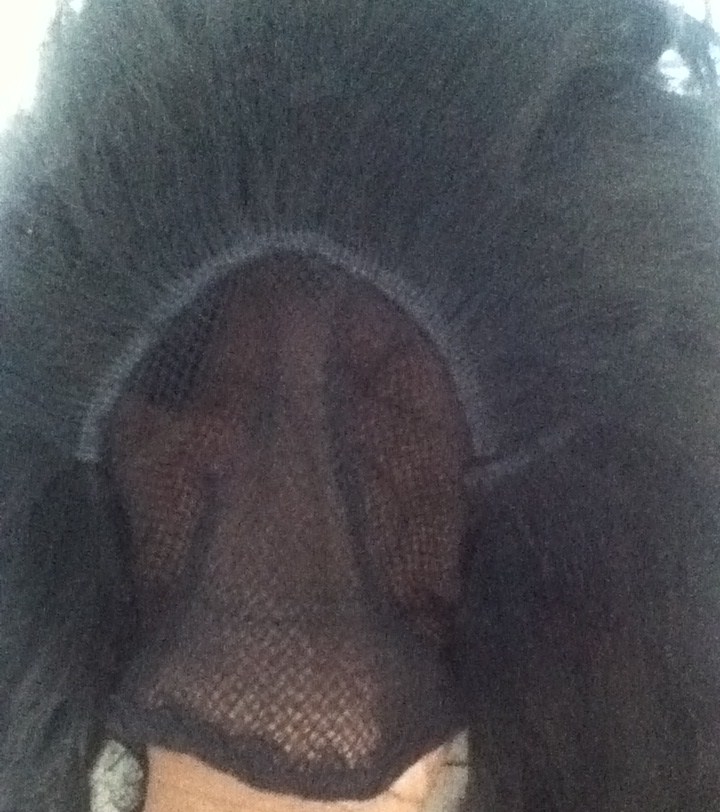 |
| Top View (where I ran out of hair ) |
 |
| In Side of the Wig |
Here is a U Part wig tutorial that I found on YouTube that I think will help you also.
And remember to have fun :)
Always Kimas


Comments
Post a Comment